
Part of drawing portraits and figures is capturing their lips, which can be both a challenge and an opportunity. If you want your artwork to be more realistic and expressive, whether you’re just starting out or have been in the industry for a while, you need to learn how to draw lips. If you want to learn how to draw lips that seem realistic and have a lot of character, this is the book for you. The goal of this tutorial is to help you become a better lip artist by teaching you what you need to know, from the anatomy of the lip to various shading and texturing methods.

Lip Structure Clarification
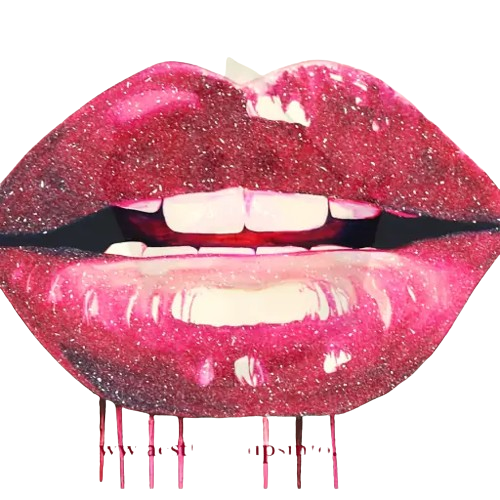
It is essential to grasp the fundamentals of lip anatomy before delving into the sketching methods. The top lip has the characteristic “Cupid’s bow,” while the bottom lip is broader. An important part of being an expert lip artist is learning to observe human lips closely, as each person’s lips provide a distinct challenge due to their varied thickness, shape, and curve.
Crucial Things to Keep in Mind:
- The top lip’s M-shaped curvature is known as Cupid’s Bow.
- The lip line where it meets the skin is called the vermilion border.
- The philtrum is the space above the top lip that runs vertically from the nose.
Technique 1: Sketching the Basic Outline
- To Begin, Write a Line: Make a horizontal line to indicate the mouth’s breadth.
- What is the Cupid’s Bow? To create the top lip, begin at the midpoint of your horizontal line and draw an M-shape.
- The Lower Lip Outline: To emphasize the fullness of the lower lip, draw a thicker, curving line under the top lip.
Technique 2: Adding Details and Volume
- To give depth and dimension to the lips, use gentle pencil strokes to shade them. Notice the areas of the face that get the most shade and the areas that get the most light as you observe the lips in natural light.
- Texture: Subtly draw lines to depict the lips’ texture. Always keep in mind that the lines on your lips aren’t straight and might vary in both length and direction.
- To make the lips seem fuller and more moisturized, use a white pencil or eraser to add highlights, paying specific attention to the bottom lip.
Advanced Techniques
- Lips may be made more realistic by artists who work with color by adding various tones. To create shadows and highlights, begin with a base color and gradually work your way up to deeper colors.
- Blending: To make the lips seem more three-dimensional, mix the colors or pencil markings smoothly to provide a subtle shift between light and shade.
Common Mistakes to Avoid
- Overdrawing: Subtletinize the contours. Lips might seem unnatural if they are overdrawn.
- Lips that don’t take the light’s direction into account will have uneven highlights and shadows compared to the rest of the face.
- Uniform Texture: Be careful not to make your lips seem too same. The texture of real lips varies.
In summary
Patience, practice, and an excellent attention to detail are necessary for lip art mastery. Lips may be more realistically and expressively rendered by artists who study anatomy, experiment with different sketching approaches, and avoid frequent mistakes. The secret to success while working with pencil, ink, or color is to watch and explore.
